Engine - Part 2
With the new sump assembled and ready, it was time to take the old one off - not that it had ever been used. First - drop the oil. As the temperature was only 4 degrees today it took a while. I thought about saving it for re-use, but it has been in there since 2004 so thought better of it. The filter took a bit of time to remove as its rubber seal had stuck to the engine block.

R
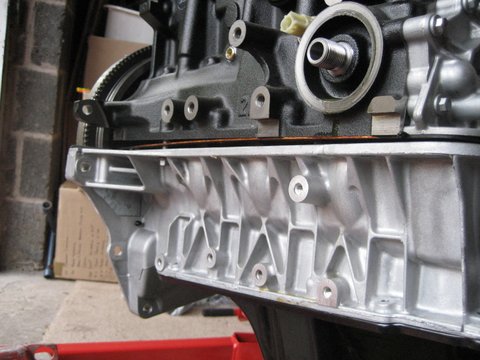
emoving the bolts holding the sump to the engine block is the not the whole story. Whilst these bolts form the uniform pressure across the gasket, in order to remove the sump there are 2 more bolts that need removing. These are only accessible if you remove the steel tray at the base of the sump. They hold the oil feeder pipe in position. Another thing I learned (the hard way - laying under an oil dripping engine block) was that these bolts have star and not hex heads.

 With the old sump finally off, I cleaned the sealant from the engine block and added new sealant to the outside rim of the new sump between the gasket and the edge of the machined surface. This should give that extra bit of protection. I then used a trolly jack to offer up the new sump to the block and bolted back in place.


 Removing the bolts holding the sump to the engine block is the not the whole story. Whilst these bolts form the uniform pressure across the gasket, in order to remove the sump there are 2 more bolts that need removing. These are only accessible if you remove the steel tray at the base of the sump. They hold the oil feeder pipe in position. Another thing I learned (the hard way - laying under an oil dripping engine block) was that these bolts have star and not hex heads.
 With the old sump finally off, I cleaned the sealant from the engine block and added new sealant to the outside rim of the new sump between the gasket and the edge of the machined surface. This should give that extra bit of protection. I then used a trolly jack to offer up the new sump to the block and bolted back in place.
I'm coming round to your thinking on the oil ...
ReplyDeleteI was 1litre short putting it back in; so its back on the to do list for an oil change on mine before (or possibly just after) first start.